Body:
Create and navigate a group
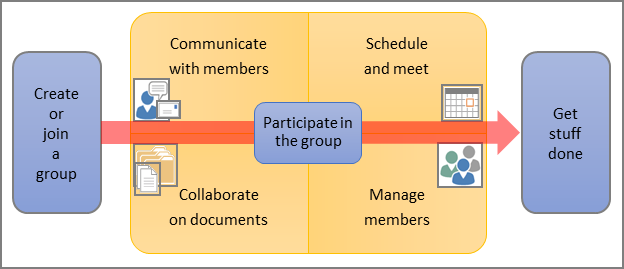
A group is a shared workspace for email, conversations, files, and events where group members can conveniently collaborate and quickly get stuff done.
A group makes it dramatically easier to work together in natural and familiar ways. It does this by bringing together features and conveniences across the Office 365 services spectrum from Outlook (email, calendar, and conversation), OneDrive for Business, and People. By assembling these different components into a cohesive experience, you can quickly self-organize, collaborate with people and content, and focus on the job at hand.
Note To create a group, you must have a license for Exchange Online. If your organization is using Exchange Server 2013 or is only using SharePoint Online, the ability to create groups is not available, but all other group features are.
Create a group
-
Sign into Office 365, and navigate to Outlook, People, Calendar, or OneDrive.
-
If necessary, click More to display the Create group command.
Tip Instead of clicking More, you can hover over the group navigation pane, and then click + to create a group.
-
To display the Create a group pane, under GROUPS, click Create group.
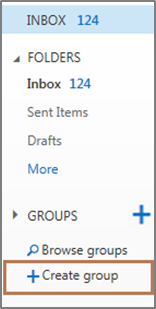 The group navigation pane
 -
In the Choose a name box, enter a group name that briefly captures the spirit of the group.
-
To change the basis of the URL and the email address, in the Group ID box click Edit
 , and then enter a group ID different from the group name. For example, you may want an abbreviated name to shorten the URL or email address.
If the message “not available” displays, adjust the group name or group ID to make it unique.
Important When you enter a group ID, choose wisely. The group ID cannot be changed after the group is created.
-
In the Add a description box, enter a detailed description of the group to help others understand the purpose of the group.
Tip It’s a good idea to enter a detailed description because it displays throughout Office 365 and is a simple but useful way to promote the group and to help others understand the purpose of the group. This description also displays in the welcome email when others first join the group.
-
In the Privacy box, do one of the following:
-
To create a group for which anyone can view its content and become a member, select Public.
-
To create a group for which only members can view its content and membership requires approval by a group administrator, select Private.
-
-
To enable email and calendar event subscriptions, select Subscribe members so they receive group conversations in their inbox.
Important If you prefer to use Outlook instead of Outlook Web App, it’s a great idea to enable this feature, because it ensures that you receive group email messages in Outlook in a timely way and can still stay up-to-date on group activity. You can also reply to the conversations from Outlook, and the replies are immediately posted to the group conversation.
-
When you are finished, at the top of the Create a group pane, click CREATE.
-
The Add Members pane appears.
Do one of the following:
Add members now
-
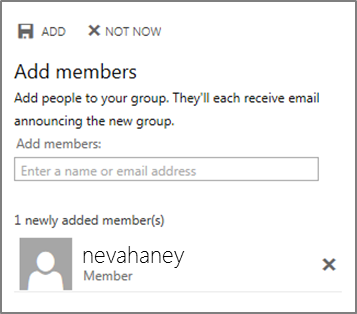
If you want to add members right away, enter a name or email alias in the Add members box.
Type-ahead is enabled, so you may only need to type the first three letters. If necessary, click Search Directory for a complete search.
-
Select the entry from the list to add the entry to the Add Members box.
-
When all the members you want to add are listed below the Add Members box, at the top of the pane, click ADD.
Add members later
-
If you want to wait, click NOT NOW. You can always add or remove members later on. For more information, see Manage a group.
-
Results
A lot of work is being done for you behind the scenes, so it may take some time to finish creating the group. Each group includes:
-
A group OneDrive for Business automatically set up with appropriate permissions for all files and members.
-
A group mailbox for email and conversations.
-
A group calendar, and a group conversation.
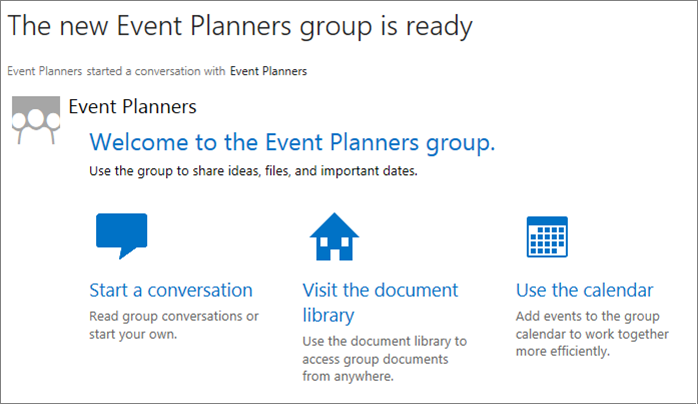
When you’re added to a group, you’ll get a welcome message that contains important information and links to get you started. It’s a good idea to save this and other group messages for future reference.
Navigate a group
By its very nature, a group is a dynamic environment. New members, conversations, email, calendar events, and files are being added all the time. Also, the people in your organization will add many groups of interest to you. To take full advantage of a group, there are three navigation components that help you get to where you want to go:
-
The group navigation pane
-
The group header
-
The More Actions
 command
The group navigation pane
The group navigation pane has an integrated quick view and full view. When you open a group, you start with the quick view. To see full view, click More, and to return to quick view, click Back  .
.
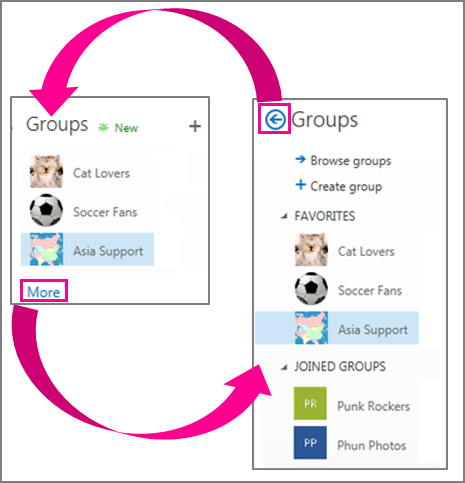
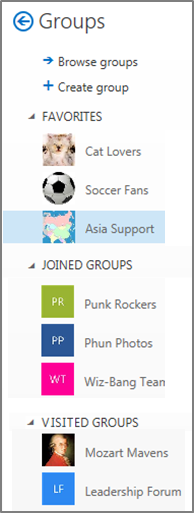
When your organization first starts using groups, the groups navigation pane may be empty. But over time, groups are organized into separate subcategories, Favorites, Joined and Visited:
-
Favorites The groups you have added as a favorite. For more information, see Add or remove a group as a favorite.
-
Joined The groups you are a member of.
-
Visited The groups for whom you have shown interest in, for example by visiting the group conversation.
The group names in each subcategory are sorted in chronological order from newest to oldest. As you visit groups, join groups, and add favorite groups, the group navigation pane is continually updated in all four group pages: Outlook, Calendar, People, and OneDrive.

The structure of the navigation pane
|
 |
How the navigation pane changes over time
|
Tip As you use Office 365 throughout the day, you often leave a group page to perform other actions and tasks. To return to a group page, navigate to Outlook, People, Calendar, or OneDrive, and then find and select the name in the group navigation pane.
The group header
When you select a group name to display the group page, make note of the group header, which displays important information and commands. Each group page (Outlook, Calendar, People, and OneDrive for Business) has a similar group header, but with some differences.
|
Group page |
Group header |
|
Outlook |
 |
|
Calendar |
 |
|
People |
 |
|
OneDrive |
 |
Each group header also has dedicated commands to quickly change to specific group pages. For example to quickly navigate between a Files page and a Conversations page:
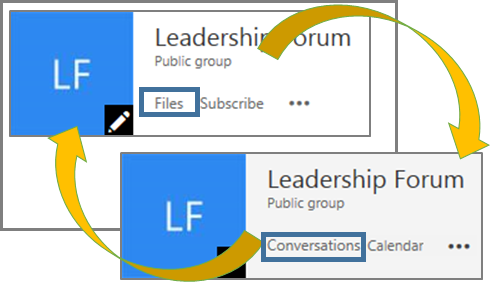
The More Actions command
The top section of the More actions  command menu contains all the group navigation commands. To navigate between all four group pages:
|
Select More actions |
Then select |
To navigate to |
And then to |
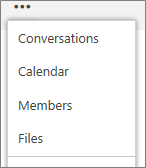 |
Conversations |
Outlook |
Have conversations, and read and send group emails from Outlook Web Access. |
|
Calendar |
Calendar |
Add and view group calendar events. |
|
|
Members |
People |
See more information about group members and add members to the group. |
|
|
Files |
OneDrive |
Manage group files in OneDrive for Business. |
https://support.office.com/en-SG/Article/Create-and-navigate-a-group-7124dc4c-1de9-40d4-b096-e8add19209e9

